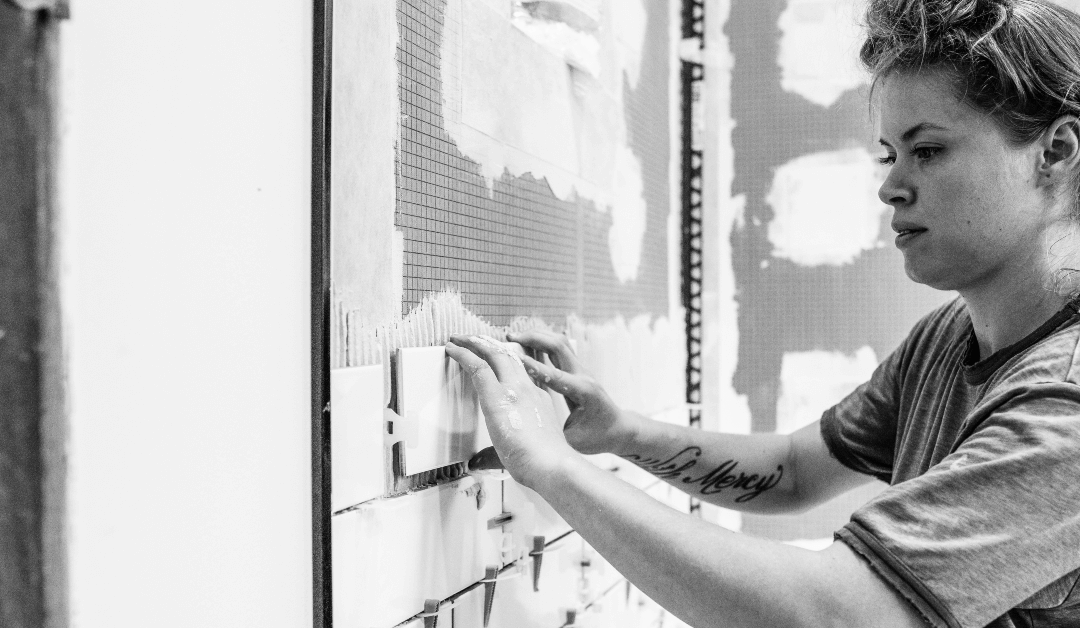
Tiling a shower is a great way to give your bathroom a fresh, new look. With the right tools and materials, it’s an achievable DIY project for homeowners of all skill levels.
However, taking on such a large job can be daunting, especially if you need help with where to start. This guide provides step-by-step instructions on how to tile your shower from start to finish.
The result is a professional look that will last for many years. This article covers everything from choosing suitable tiles and setting up an effective workspace to laying the tiles, grouting, and sealing them.
At Versa Stone US LLC, we are the best tile supplier in Miami-Dade County and have the right products for tiling your shower. We have various types of tiles to choose from, including other materials you may need to do this job effectively.
Part of the products we provide our esteemed customers are bathroom & kitchen countertops in Miami Dade, FL, to perfectly suit the standard of your well-furnished and newly tiled modern bathroom.
What You Will Need
For tiling your shower, you must first assemble all the materials needed to do the job. They include the following:
- Tiles
- Thinset
- Grout
- Spacers
- Trowel
- Bucket
- Drill
- Mixer Attachment
- Notched Trowel
- Tile Cutter or Wet Saw
- Rubber Grout Float
- Sponge
Here’s our step-by-step guide:
Step One: Prepare the Shower Area
The first step in bathroom remodeling in St. Hialeah is to ensure the area you’ll be tiling is clean and dry. Once the area is prepped, it’s time to start laying down tiles! If there’s any old caulk or grout, remove it so that the new tiles will have a clean surface.
Step Two: Apply Thinset Mortar
Thinset mortar is an adhesive that will help hold your tiles in place. Spread it onto the shower wall with a notched trowel to apply it. Smooth it out, so there are no air bubbles. Continue spreading it until you’ve covered the entire area where laying tiles lay.
You can buy your tile accessories from Versa Stone US – the best tile supplies in Florida.
Step Three: Lay Down Tiles
Now it’s time to start laying down tiles! Begin at the bottom corner of the shower and work your way up. Press each tile into the thin-set mortar and use spacers to ensure that each tile is evenly spaced apart. As you lay down each tile, wipe away any excess mortar with a damp sponge.
Step Four: Cut Tiles as Necessary
Once all the tiles are in place, you may need to cut some tiles to fit around corners or other obstacles in the shower. You can do this using either a wet saw or a tile cutter. When cutting tiles, always err on caution and cut them slightly more significantly than needed. You can trim them down if necessary, but you’ll have to start over if they’re too small!
For all your ‘bathroom fixtures near me,’ please consult with us – Versa Stone US LLC. We have the best.
Step Five: Mix Grout and Apply It Between Tiles
Once all tiles are in place, it’s time to grout them! Start by mixing grout according to the manufacturer’s instructions. Use a rubber grout float to apply it between each tile. Push grout into cracks and crevices.
Step Six: Wipe Away Excess Grout
After the grout has had some time to set (about 10 minutes), use a damp sponge to wipe away any excess grout from the surface of the tiles. You may need to rinse your sponge frequently to fill it with grout residue. Be sure to review each tile multiple times to remove all the grout.
Step Seven: Allow Grout To Cure
After wiping away excess grout, give your shower time for the grout to cure (usually 24 hours) fully. During this time, avoid getting water on the grouted areas, so they have plenty of time to set correctly. After the curing period, your shower will be ready for use!
Contact Versa Stone US LLC for all Your Tiling Needs
In conclusion, tiling a shower can be time-consuming and intimidating, but anyone can do it successfully with the right supplies and patience.
Using Versa Stone US LLC is an excellent choice for those looking to tile their shower because our products are high-quality, easy to install, and can last for years. In addition, with our superior durability and resilience to water damage, you can have peace of mind that your shower will look great for years to come.
Our bathroom accessories and fixtures include:
- Pebbles Mosaic Series
- Glass Mosaic Series
- Marble Mosaic Series
- Crackle Glass Mosaic Series
- Ceramic Mosaic Series
- Aluminum Mosaic Series
- Quartz Slabs Series
It’s worth noting that because these products are low-maintenance, you don’t need to worry about spending hours scrubbing or treating the tiles; all you need to do is wipe them down regularly with an appropriate cleaning solution.
With these benefits in mind, DIYers who want to take on this home improvement project should strongly consider using Versa Stone US LLC as their tiling solution. Contact us today.

